

The checklist keeps your research and due-diligence tasks for each property in one place, such as checking overlays, ordering a building and pest report or calling council. You can save your usual tasks as templates, so each new property starts with the right list.
Before you start
- The checklist is only available for properties in your pipeline. Stash and save properties.
- If the Checklist card shows a crown icon, it isn’t included in your plan. See plans.
Open the checklist
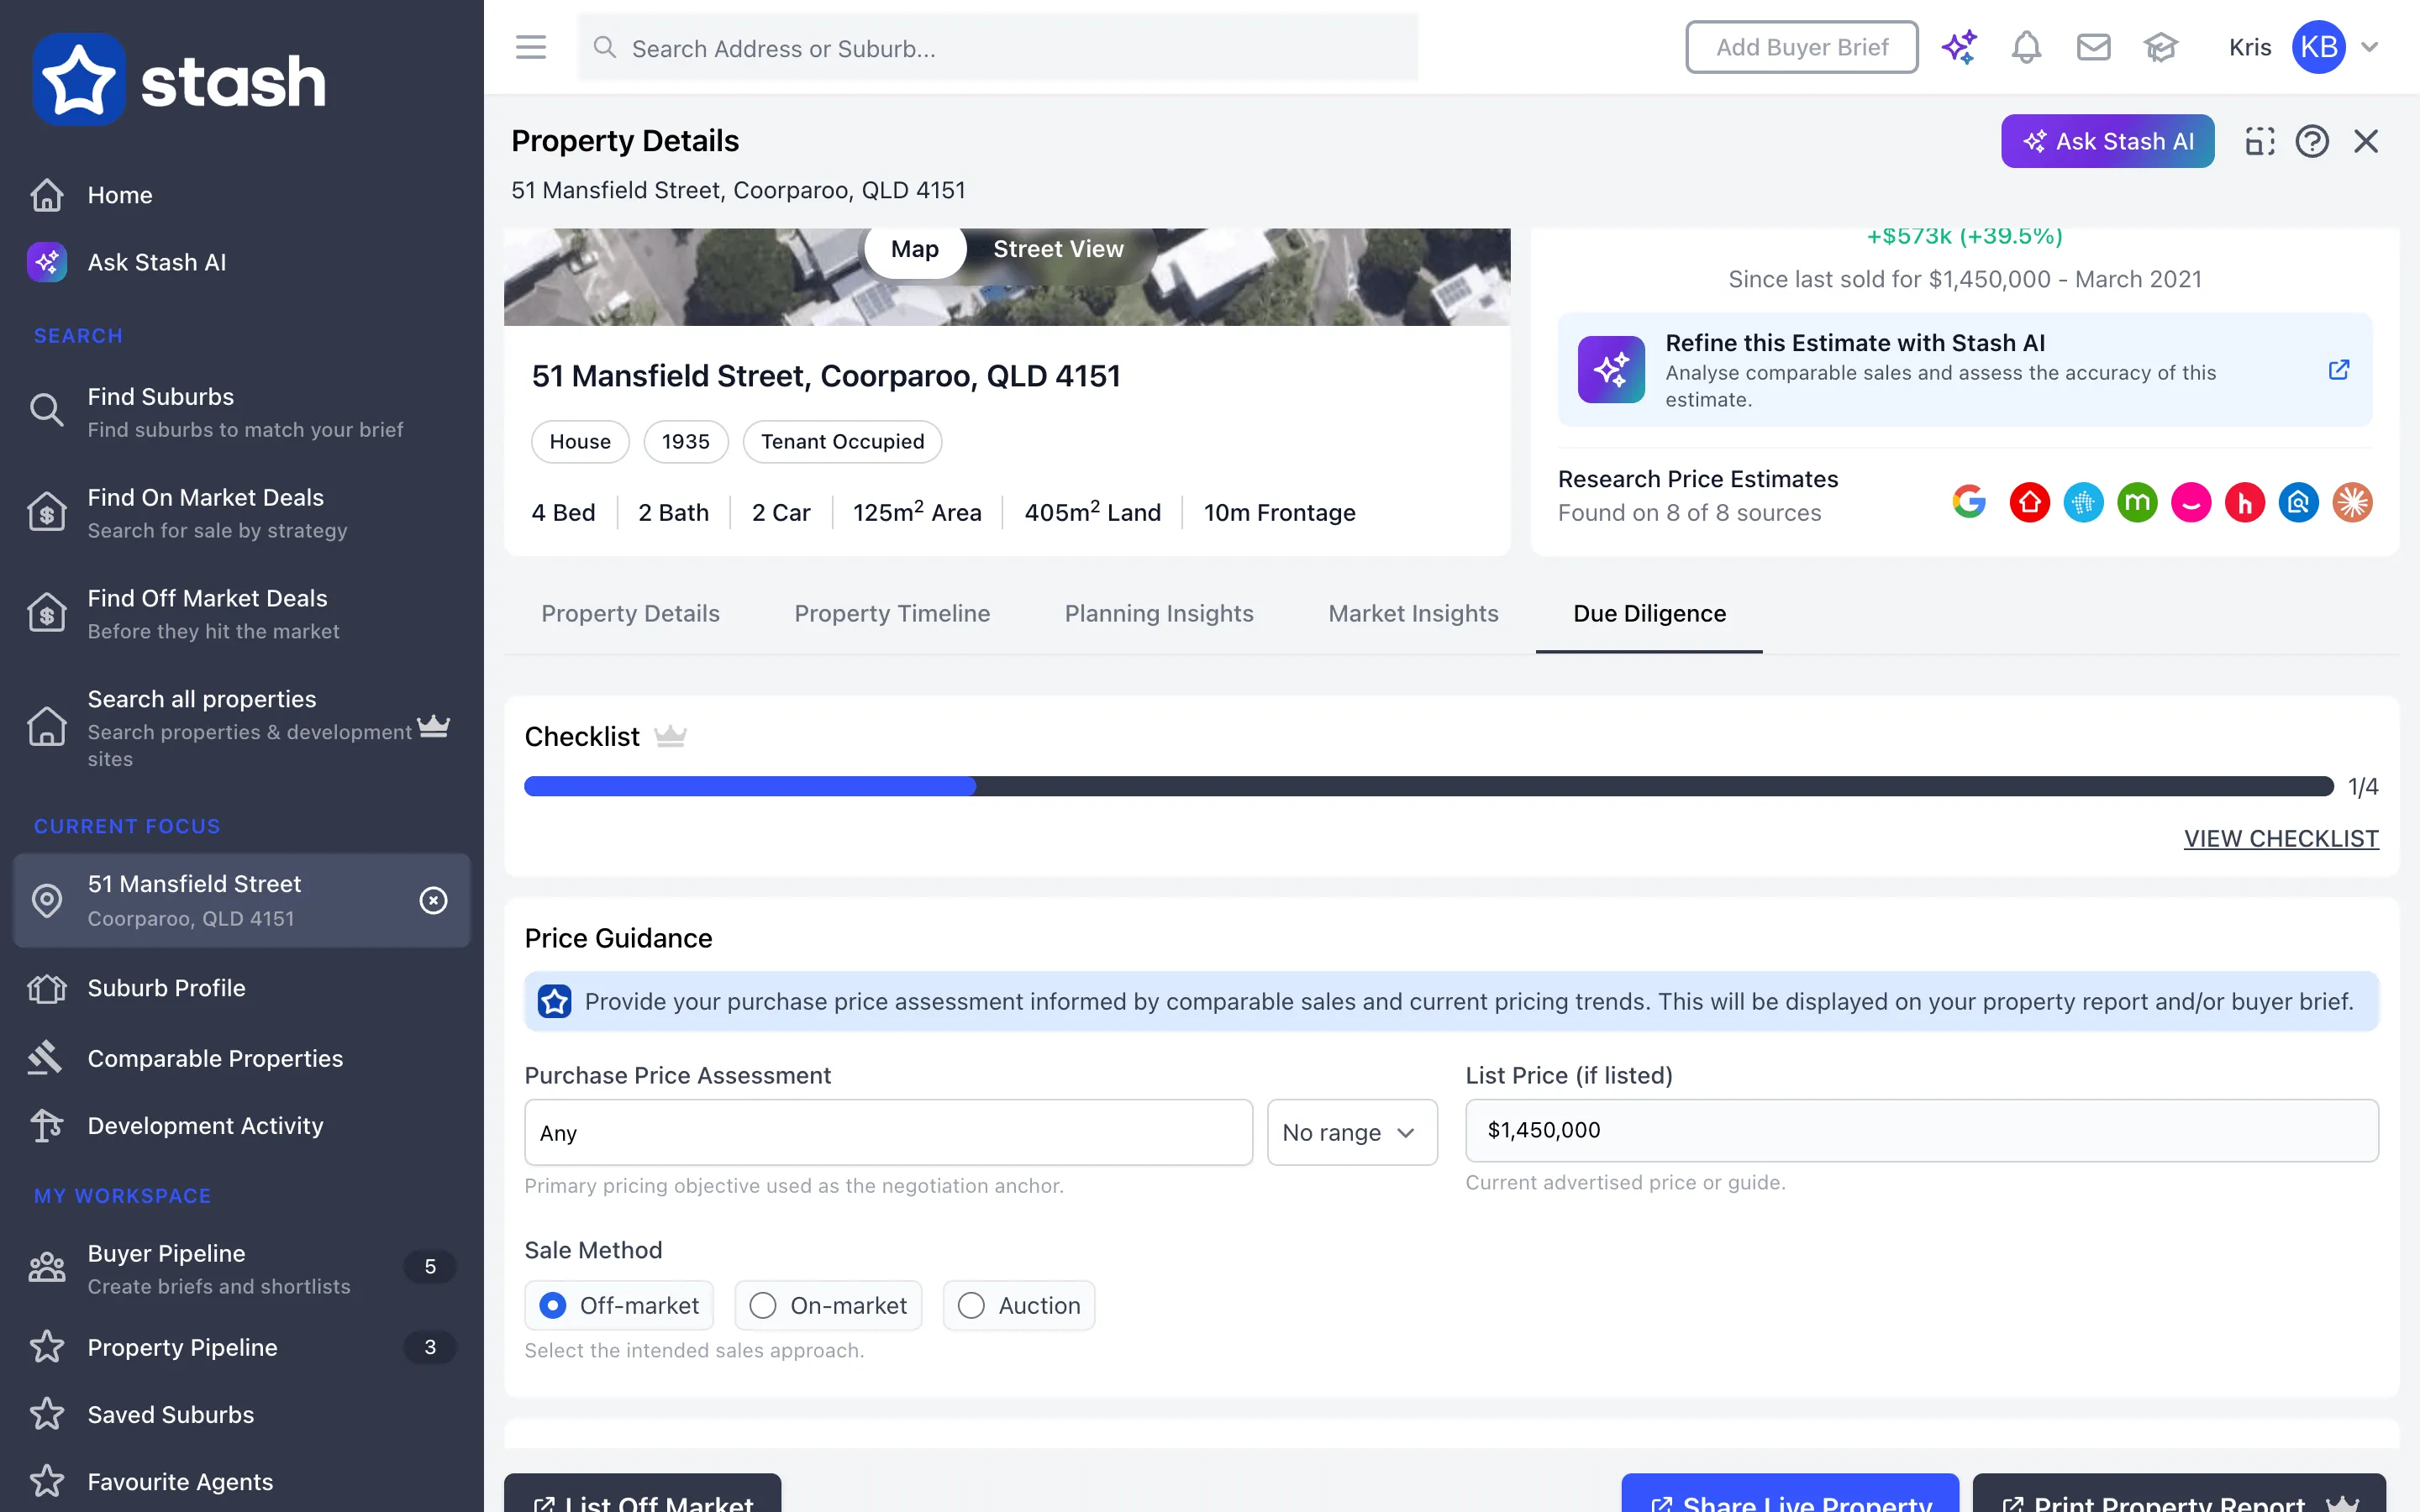
- Open a saved property. Click it in Property Pipeline, or open it from the map.
- Find the Checklist card. Scroll the property page to the Checklist card. It shows a progress bar once you’ve added tasks.
- Click View checklist. The checklist opens for that property.
Add tasks
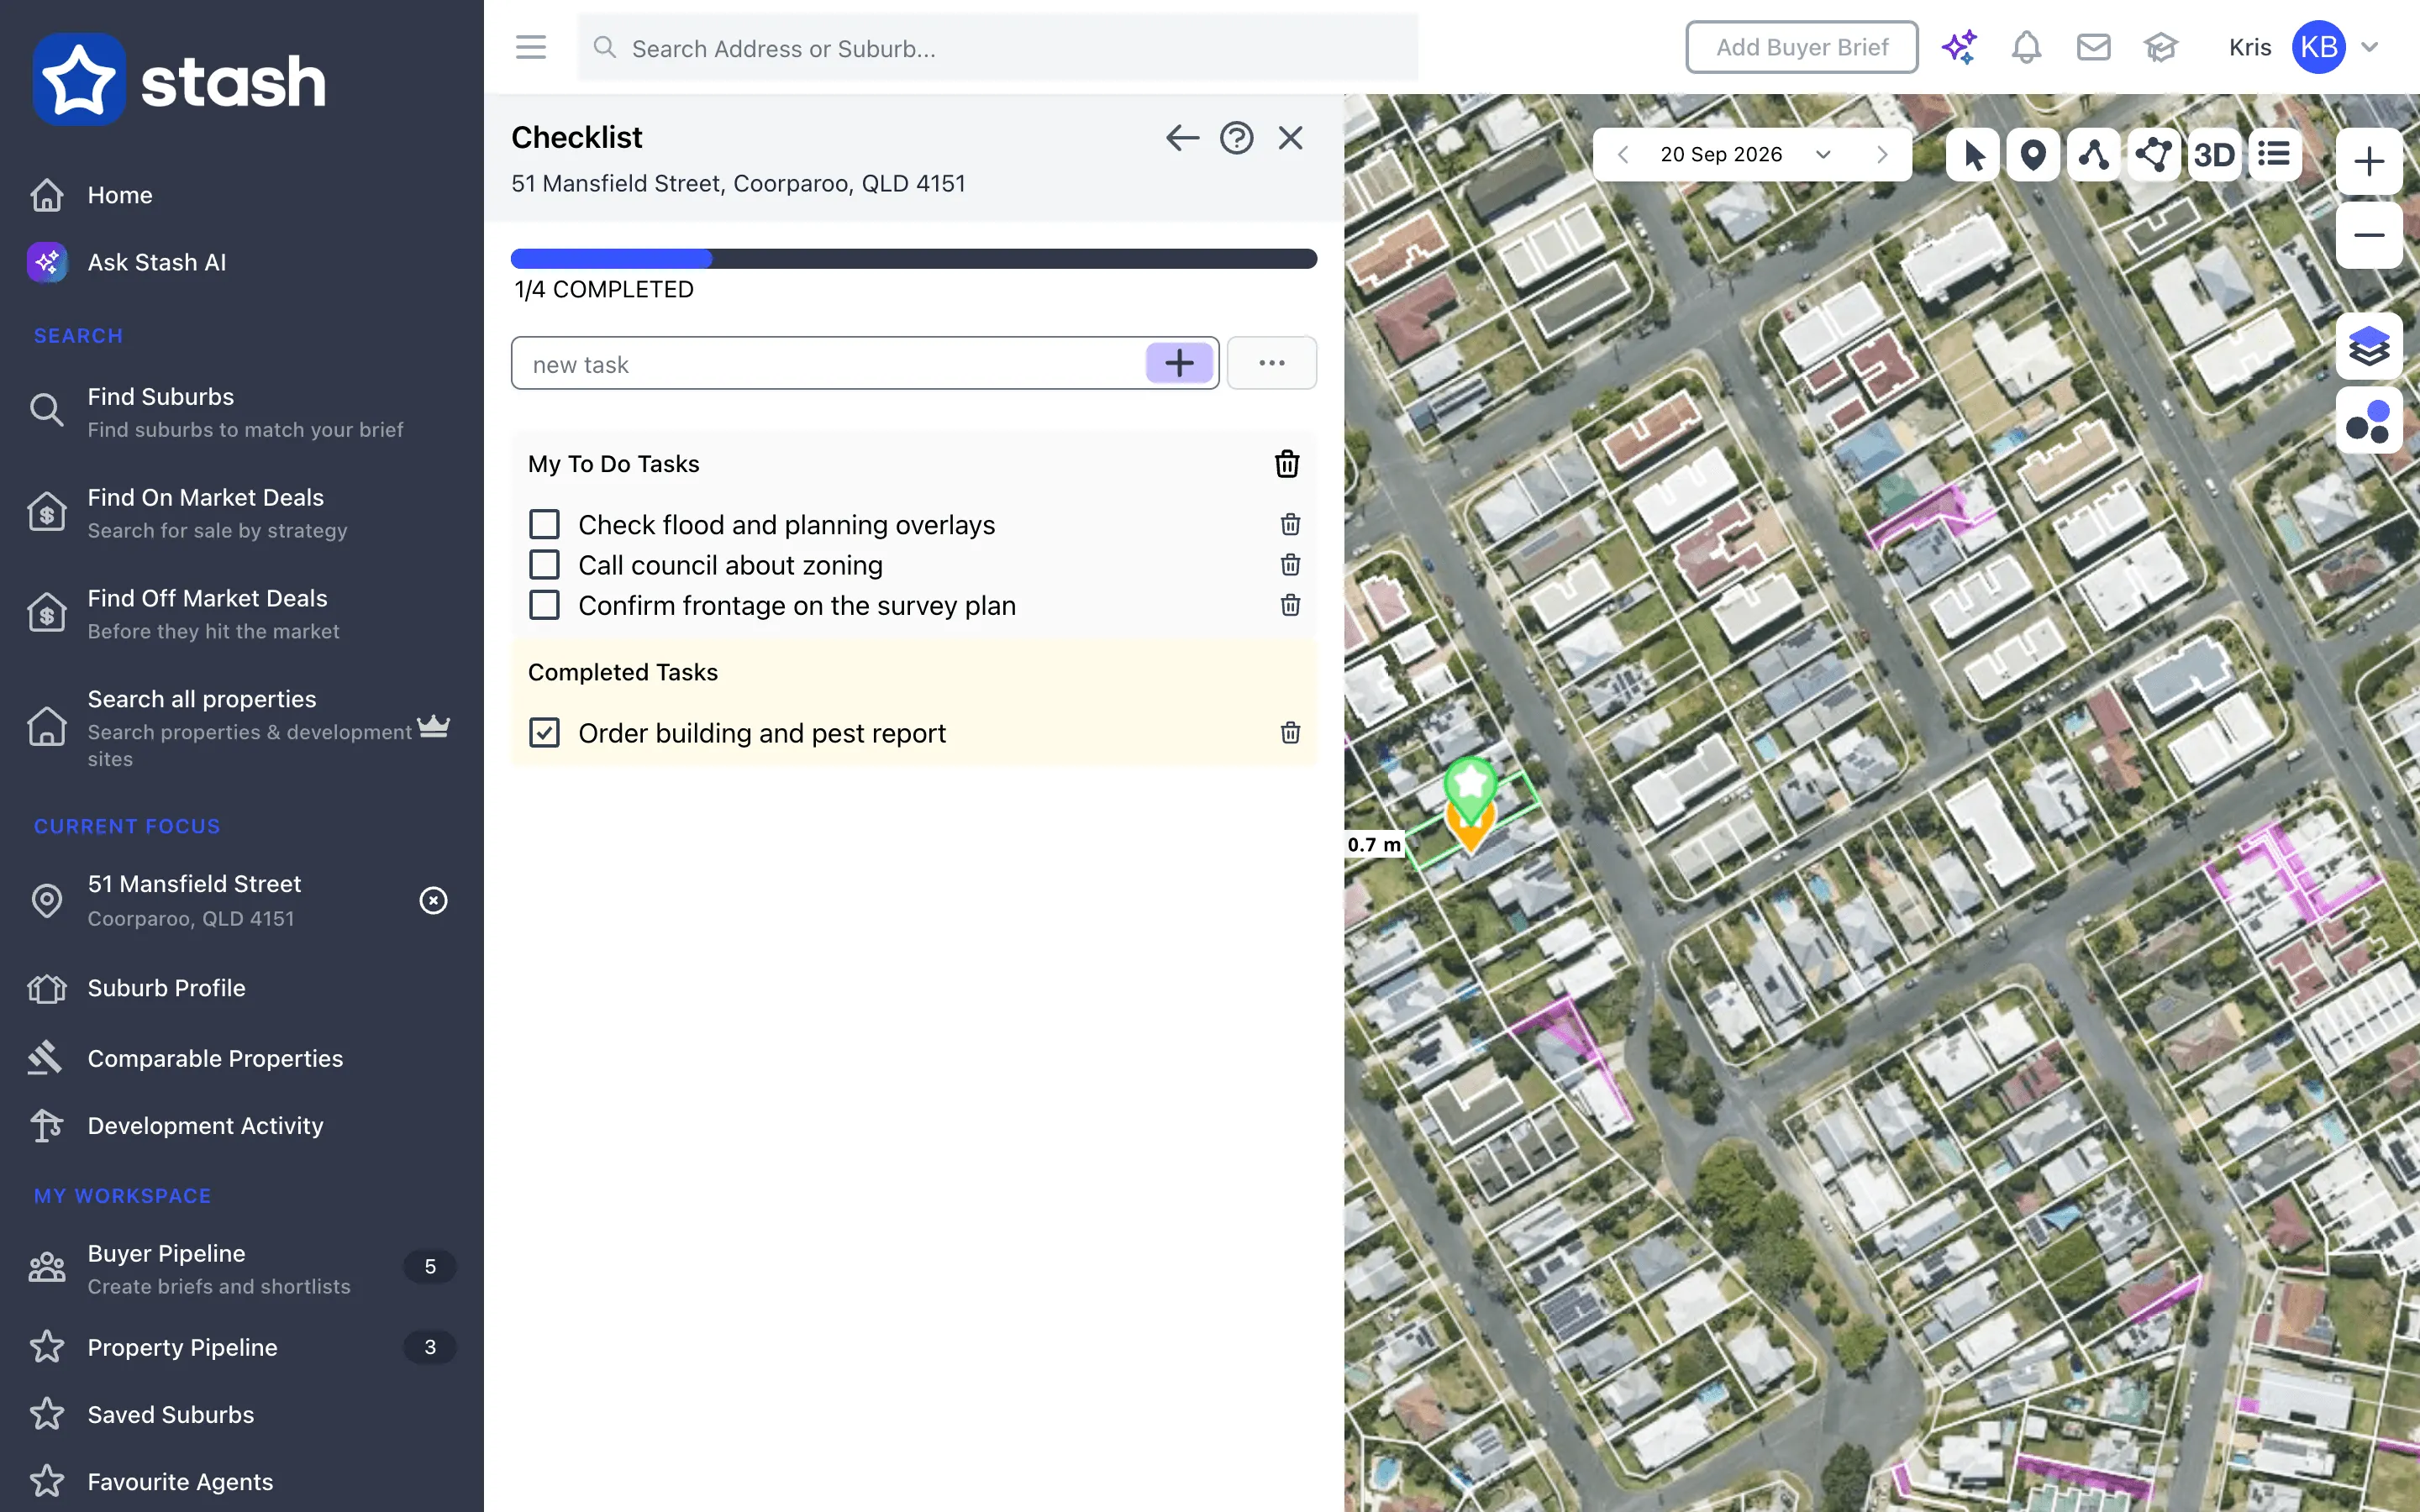
- Add tasks one by one. Type in the new task box and press Enter, or click the plus button.
- Or populate from a template. When the list is empty, choose a template from Populate from template to add all its tasks at once. Stash includes starter templates you can use or edit.
- Tick tasks off as you go. Click a task to mark it complete. It moves to Completed Tasks and the progress bar updates. Click it again to move it back.
- Remove tasks. Click the bin next to a task to delete it, or the bin next to My To Do Tasks to clear the list.
Some template tasks include a link icon. Click it to open the related website in a new tab.
Save and manage templates
- Build the list you want to reuse. Add the tasks to a property’s checklist first.
- Open Manage templates. Click the … button next to the new task box.
- Save it as a template. Type a name in the My todo template box and click the plus button. Each template needs a unique name.
- Edit or delete a template. Click the pencil to open Edit template, change the name or tasks and save. Click the bin to delete a template, then confirm with Delete template.
Changes to a template apply to future uses only. Checklists you’ve already populated from it stay as they are.
Create a separate template for each type of project, for example one for subdivision research and another for townhouse development.
Use the checklist in your report
When a property has checklist tasks, your property development report includes a Checklist page. You can tick and untick tasks there too, and your changes are saved to the property’s checklist. Create a property development report.